Affiliate disclosure: This article contains affiliate links. If you make a qualifying booking through these links, GreatTravelNews.com may earn a commission at no additional cost to you.
Central Park photography offers more than a collection of famous landmarks. A thoughtful walk can combine architecture, water, trees and portraits while leaving time to enjoy one of New York City’s best-known green spaces.
For a first visit, concentrate on a manageable section of the park. The Mall, Bethesda Terrace and Bow Bridge provide a coherent starting route. Add other locations only if your time, energy and conditions allow.
This is a researched planning guide, not a report of a personally tested photography session. Check the Central Park Conservancy’s current map and alerts before visiting.
The Conservancy identifies The Point as a location for less familiar views toward Bethesda Terrace and Bow Bridge. Its photography guide is a useful reference when choosing alternatives to the most crowded viewpoints. Central Park Conservancy
Start With a Manageable Photography Walk
Allow roughly two to three hours for the following suggested route, including stops. This is a planning allowance rather than a measured walking time.
The Mall → Bethesda Terrace → Bow Bridge → nearby Lake viewpoints.
You can shorten the route if you spend longer photographing one location. Check an official map for entrances and accessible paths suited to your needs.
For couples, agree beforehand whether this is primarily a photography session or a sightseeing walk. That helps avoid one person spending the whole morning waiting while the other adjusts equipment.
1. The Mall: Use the Trees to Create Depth
The Mall is suited to compositions that lead the viewer’s eye into the distance.
Try standing to one side rather than automatically centering every image. A couple walking through the frame can give the photograph scale and a sense of movement.
Simple Shot Ideas
A wide view showing the avenue of trees.
A walking portrait with space ahead of the subjects.
Details of branches, benches or leaves.
A vertical photograph that emphasizes the height of the trees.
Take a few deliberate images, then move aside. Waiting for a completely empty scene may be less rewarding than including people naturally.
2. Bethesda Terrace: Photograph the Architecture
Bethesda Terrace offers architectural details as well as views toward the Lake.
Look for repeating shapes, contrast between light and shadow, and ways to frame a person without placing them directly in a busy walkway.
Current planning note: The Conservancy has announced restoration work affecting Bethesda Fountain. Its announcement states that the terrace remains open while the fountain is enclosed for construction. Check current alerts before expecting an unobstructed fountain photograph. Central Park Conservancy
If construction affects your planned image, use the visit to photograph details and surrounding views instead.
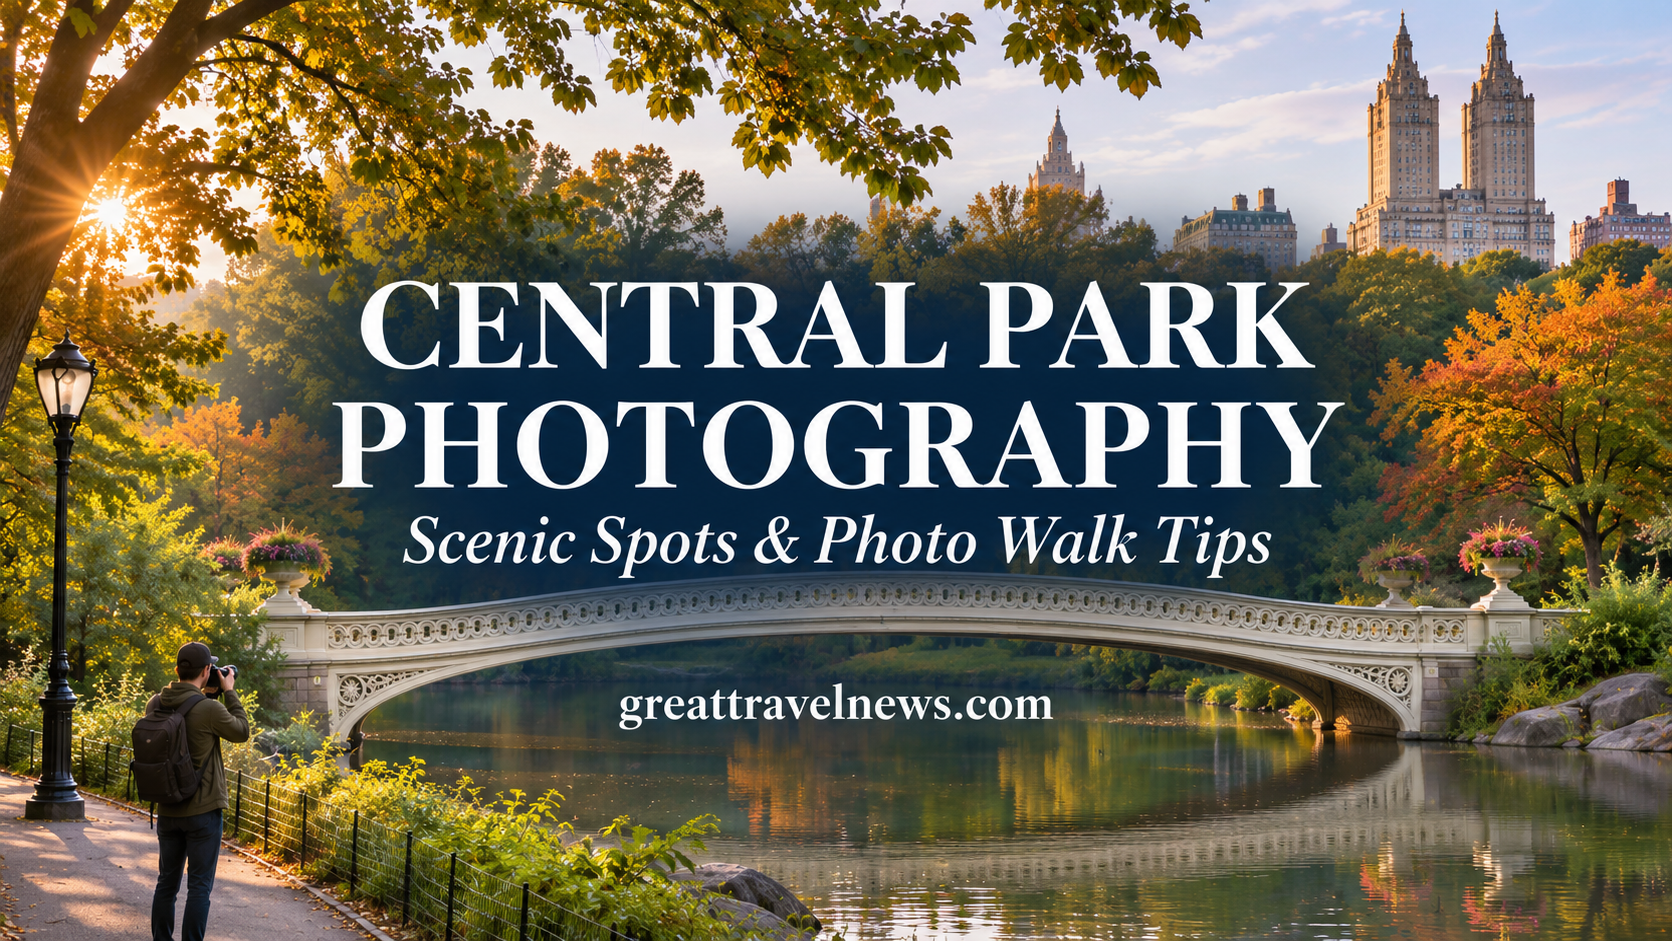
3. Bow Bridge: Work With Curves and Reflections
Bow Bridge offers views across the Lake and connects paths toward the Ramble and Bethesda Terrace. Central Park Conservancy
Try photographing the bridge from an established path beside the water, then take a different composition while crossing.
For portraits, place your subject away from the middle of moving foot traffic. Take a few frames quickly and allow others to pass.
Reflections depend on light, wind and water conditions. If the surface is disturbed, make the bridge’s shape or surrounding landscape the main subject.
4. The Point: Look for an Alternative Angle
A location becomes more interesting when you change your position thoughtfully.
The Point can offer another perspective toward familiar features around the Lake. Use the official map to plan your route and remain on open paths.
Try including foreground branches or a section of shoreline to create depth. Avoid stepping into planted areas to obtain a clearer view.
5. Conservatory Garden: Plan a Separate Visit
Conservatory Garden is farther north than the core route above, so treat it as an optional extension or a separate session.
It suits photographers interested in planting, formal layouts and smaller details. What you see will depend on the season and maintenance arrangements.
Check opening hours and any special requirements before organizing a portrait session. General visitor photography rules should not be assumed to cover every reserved or organized shoot.
When Should You Take Central Park Photos?
Early in the Day
An earlier visit may offer a calmer atmosphere, but it does not guarantee empty locations.
Check daylight and park opening information. Choose a route you are comfortable navigating and avoid making an unfamiliar isolated location essential to the plan.
Late Afternoon
Lower light can suit portraits and atmospheric landscapes. However, trees and buildings affect where direct sunlight reaches.
Arrive with enough time to find a useful composition rather than depending on a precise sunset effect.
Overcast Conditions
Cloud cover can provide soft light for portraits.
Use architectural lines, branches and reflections to create interest when the sky is plain. You do not need strong sunshine to make a successful photograph.
Easy Photography Tips for Phones and Cameras
Clean the Lens
A quick lens clean can improve clarity, especially if a phone has been in a pocket or bag.
Watch the Background
Before pressing the shutter, check for distracting objects behind your subject. Moving a step sideways may improve the image more than changing a camera setting.
Keep Buildings and Trees Upright
Use your phone’s grid or the camera’s level display. Leave room around the frame if you expect to straighten the picture later.
Avoid Excessive Zoom
On a phone, compare the available lenses rather than repeatedly enlarging the image digitally. Moving closer may improve detail when it is safe and appropriate.
Take Both Vertical and Horizontal Images
A horizontal image can show the landscape, while a vertical photograph may work better for a portrait or travel scrapbook.
Photographing Couples Naturally
Give each other simple actions rather than holding a stiff pose.
Try walking slowly, looking toward the water or talking while seated on a bench. Take turns photographing each other so both people appear in the memories.
If you use a tripod or timer, keep equipment close and avoid obstructing paths. A small setup is easier to manage than a large arrangement during a sightseeing walk.
If professional portraits are a priority, compare a photographer’s full portfolio, session length, meeting arrangements and delivery terms.
Do You Need a Photography Permit?
The Central Park Conservancy says ordinary visitors can take photographs using handheld equipment or a tripod without a permit. Organized shoots, special setups and particular locations may involve additional requirements.
If your Northeast trip continues to Niagara Falls, our Niagara Falls packing checklist can help with the next stop. Treat that as a separate journey rather than a quick extension to a park visit.
Frequently Asked Questions
Can you take good Central Park photographs with a phone?
Yes. Composition, light and a clean lens matter more than carrying a large camera for a casual travel walk.
What is a practical first photography route?
The Mall, Bethesda Terrace and Bow Bridge make a manageable starting sequence. Adjust it for closures, access needs and the time you want at each stop.
Should you book a photography tour?
Consider one if you want instruction or help choosing compositions. Check that the listing actually includes photography guidance.
What if the famous locations are crowded?
Try a different angle, include people naturally or photograph smaller details. Avoid blocking paths while waiting for an empty scene.
The most rewarding Central Park photography walk leaves you with both photographs and an enjoyable experience. Choose a few locations, travel light and allow time to look beyond the obvious frame.